How to Master the Installation Process for James Hardie Siding
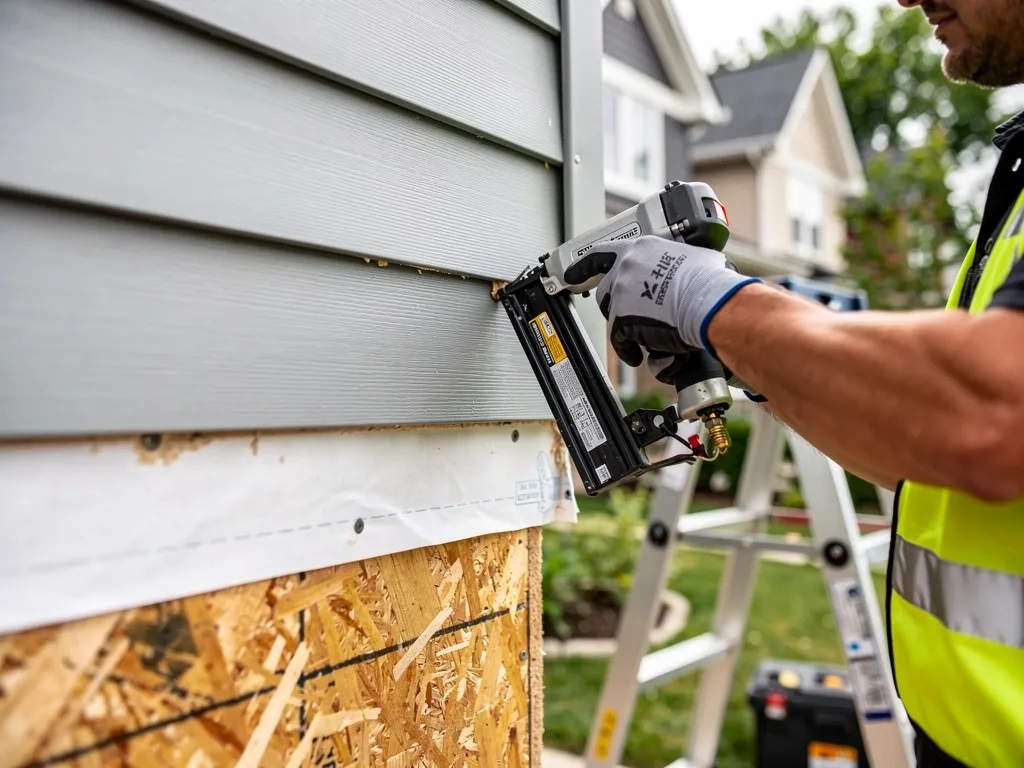
James Hardie siding installation follows manufacturer specifications for HZ5® or HZ10® zones, with proper clearance, weather barriers, and fastening patterns ensuring durability. Alliance Exteriors Inc., a James Hardie Certified Installer, executes each project to code, delivering climate-ready assemblies and clean finishes backed by 5- and 10-year workmanship warranties.
What Does the James Hardie Siding Installation Process Involve?
Can You Explain the Installation Process for James Hardie Siding in Detail? The James Hardie siding installation process follows a structured, four-phase sequence. Alliance Exteriors Inc. executes each phase with precision, drawing on its exclusive focus on exterior cladding systems. Homeowners who skip any phase risk moisture intrusion, code violations, and premature material failure that void manufacturer warranties.
How Does the Process Begin Before Any Siding Is Installed?
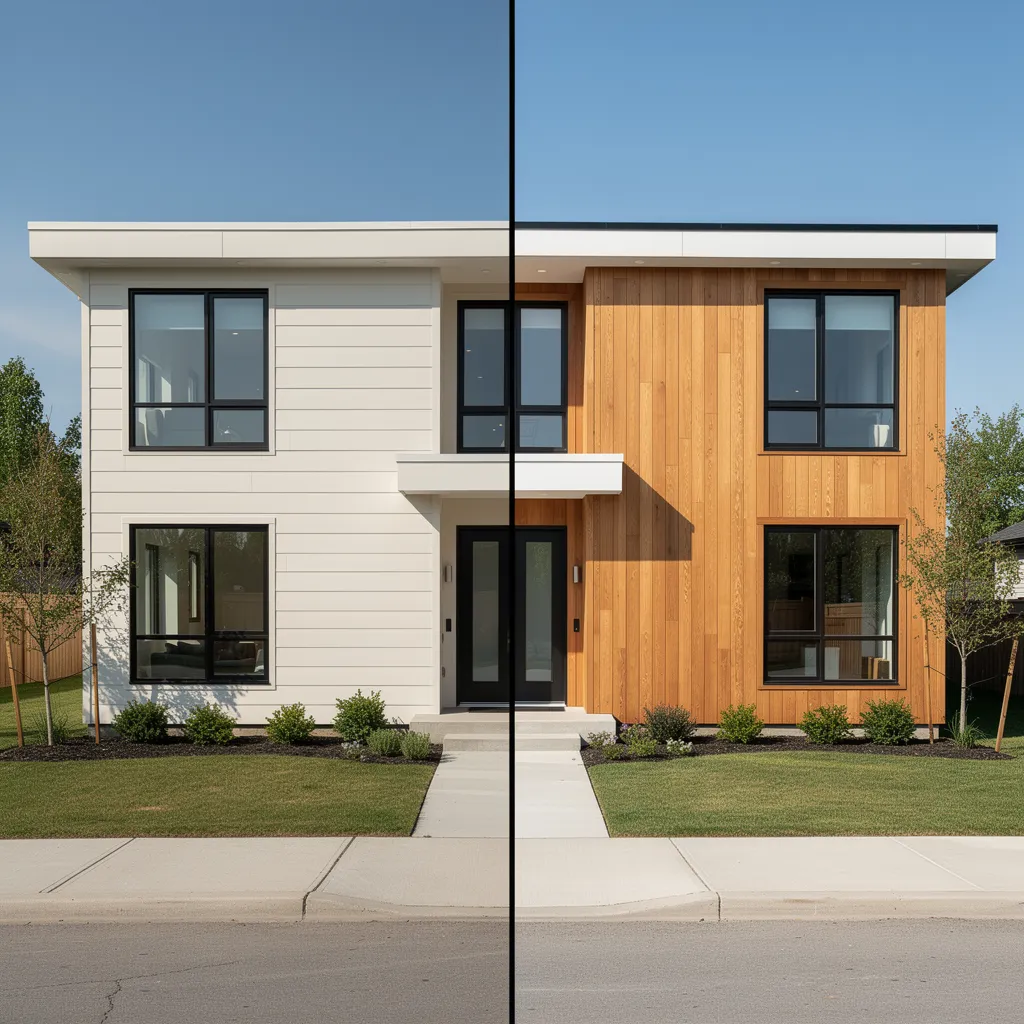
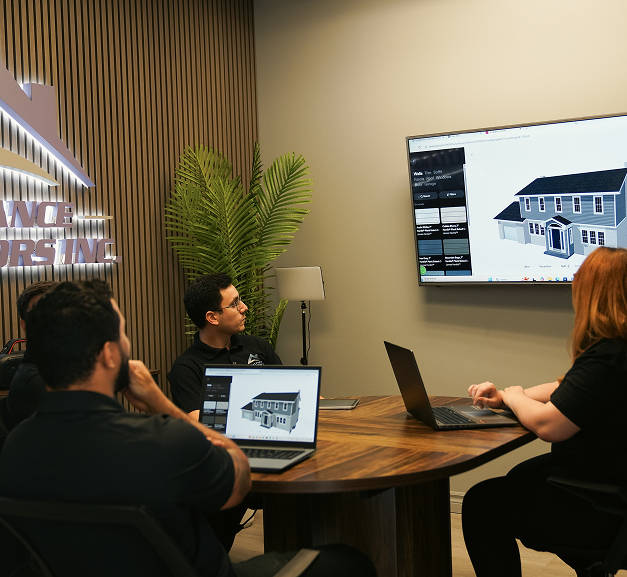
The engagement starts with a design consultation and material guidance session. Alliance Exteriors aligns the siding system with the home’s architectural style and performance requirements. Material selection, 3D mockups, and expert input ensure the fiber cement profile, color, and texture complement the property before a single board is ordered.
What Happens During the On-Site Assessment?
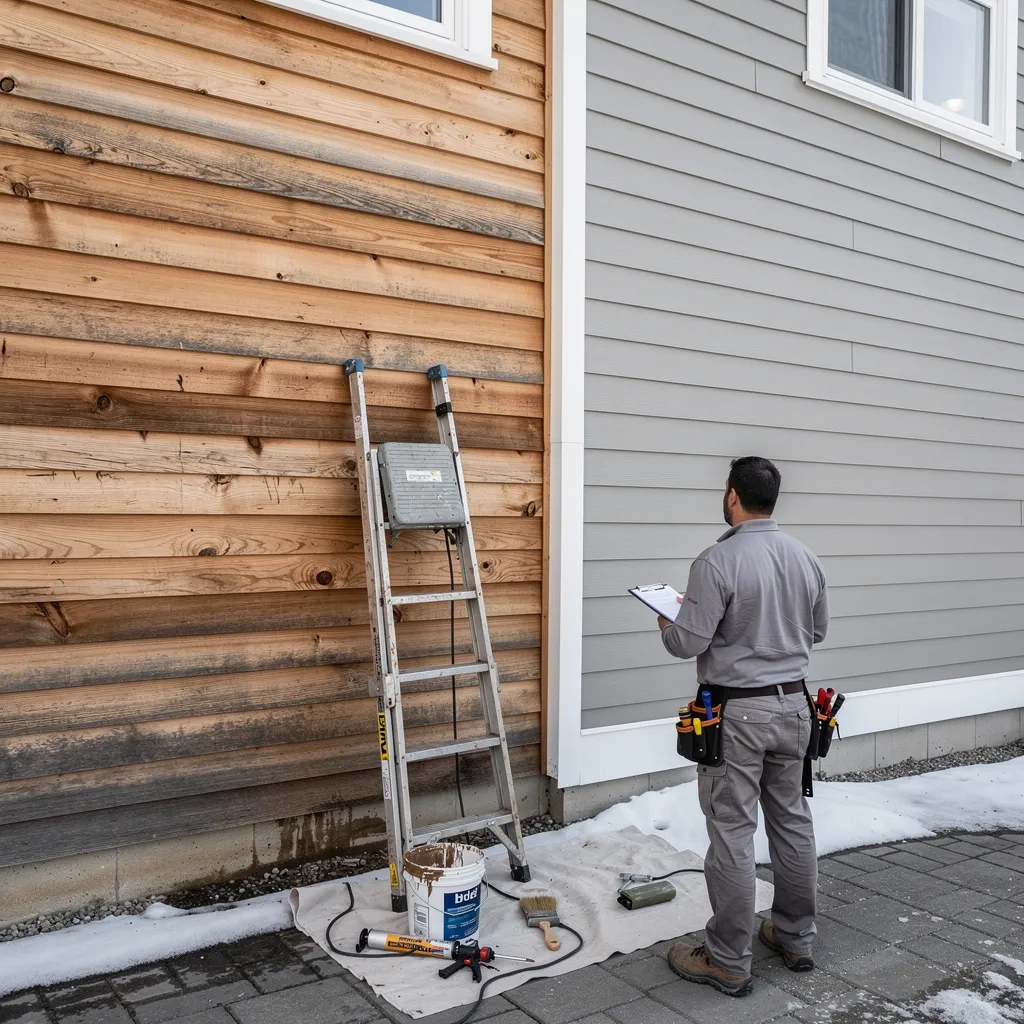
A thorough on-site assessment follows the design phase. The company evaluates existing wall conditions, sheathing integrity, and weather barrier readiness. Alliance Exteriors then delivers a transparent, itemized quote. No work proceeds until the scope, material quantities, and labor costs are documented and approved.
How Is the Siding Professionally Installed?
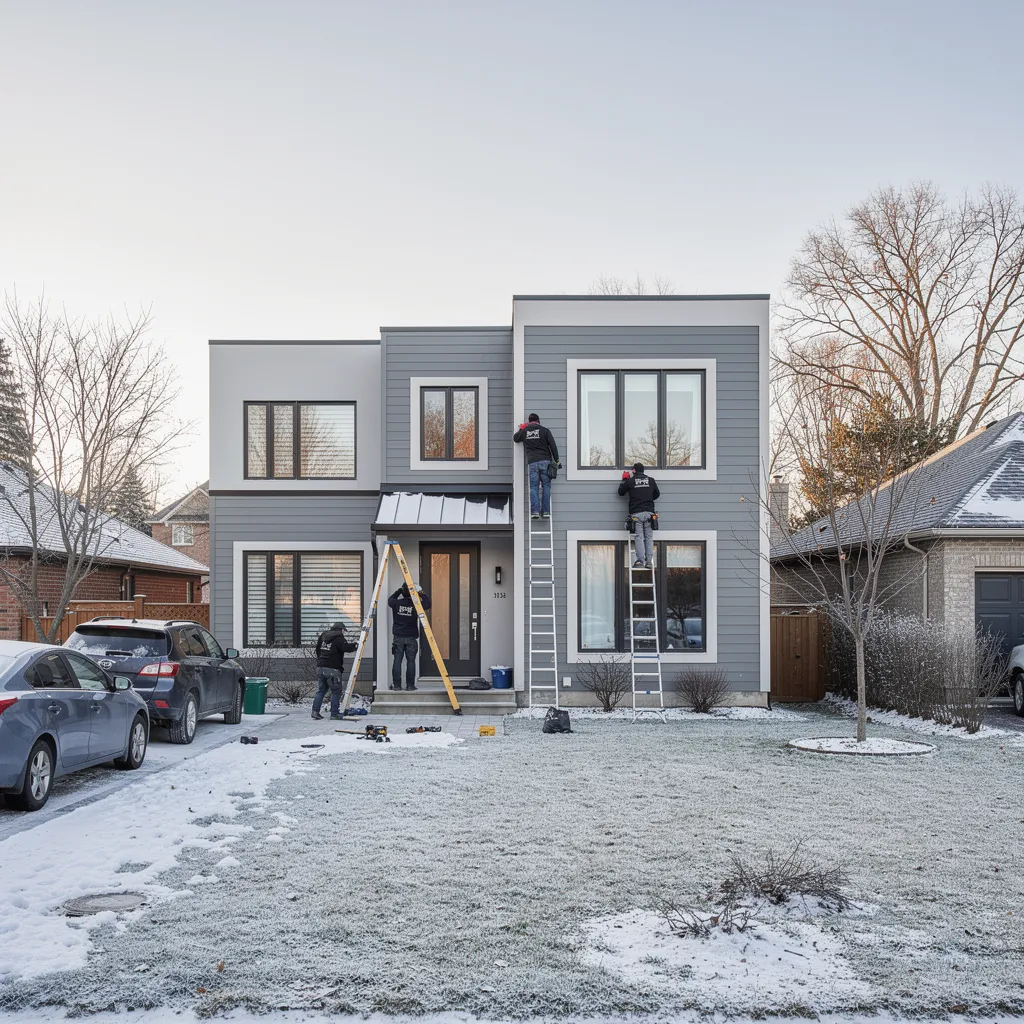
Professional installation proceeds in a defined sequence:
- Remove existing cladding and inspect the substrate for damage or rot.
- Install or repair the weather barrier and integrate flashing at all penetrations.
- Mount fiber cement planks to manufacturer specifications, maintaining proper clearances and fastener patterns.
- Finish with trim, soffit, fascia, and rainware to seal the envelope completely.
Alliance Exteriors holds James Hardie Certified Installer status. Every step adheres to manufacturer specifications and local building code. The company’s specialization in siding and cladding, rather than general contracting, brings deep material knowledge to each cut, joint, and termination detail. Builders and homeowners gain the confidence that comes from the top benefits of James Hardie siding being fully realized through correct installation.
What Concludes the Installation Process?
A final walkthrough with the client completes the engagement. Alliance Exteriors reviews every elevation, confirms flashing and paint integrity, and delivers warranty documentation. Completed work carries 5- and 10-year workmanship warranties, reinforcing long-term performance for Toronto’s demanding climate.
How Do You Prepare for a James Hardie Installation?
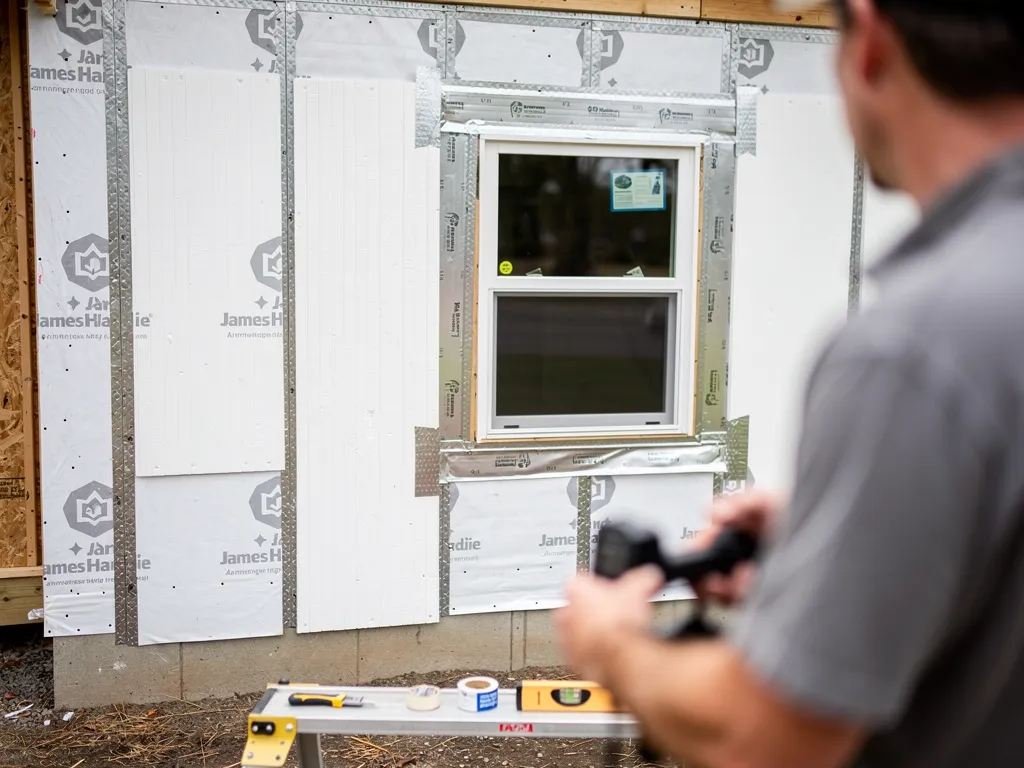
Proper preparation prevents costly installation failures. A methodical pre-installation approach protects the home's long-term weather resistance and ensures the siding system performs as engineered for Canada's demanding climate. Skipping these foundational steps risks moisture intrusion, voided manufacturer warranties, and premature material degradation.
What Documents Are Required Before Installation Begins?
The preparation phase starts with a thorough review of the manufacturer's technical documentation. Installers consult the Hardie Plank lap siding installation instructions, which contain every specification needed for proper execution. The James Hardie website makes these documents readily available. Critically, the team must select the correct instruction set for the appropriate Hardie Zone: HZ5 or HZ10. Each zone corresponds to specific climate demands, and using the wrong guidelines compromises the siding's engineered performance.
How Does the Building Envelope Get Prepared?
Before any siding touches the wall, Alliance Exteriors installs a weather barrier and insulation system. This layer creates a protective shield that blocks moisture, drafts, and heat transfer. Added insulation improves energy efficiency and stabilizes indoor comfort levels. This assembly forms the critical backup defense behind the fiber cement cladding. A compromised weather barrier silently channels water into the wall cavity for years before visible damage appears.
What Happens During the On-Site Assessment?
Alliance Exteriors performs a detailed on-site evaluation before generating any quote. The assessment verifies existing wall conditions, confirms dimensions, and identifies interface details around windows, doors, and penetrations. Following this evaluation, the company delivers a transparent, itemized quote. Homeowners understand the full scope of work, material specifications, and project timeline before committing. Clear documentation at this stage eliminates mid-project surprises.
For a broader overview of the complete siding process tailored to Toronto's requirements, see how the full installation unfolds at this detailed James Hardie installation guide for Toronto homeowners.
What Are the Key Steps to Install HardiePlank Lap Siding?
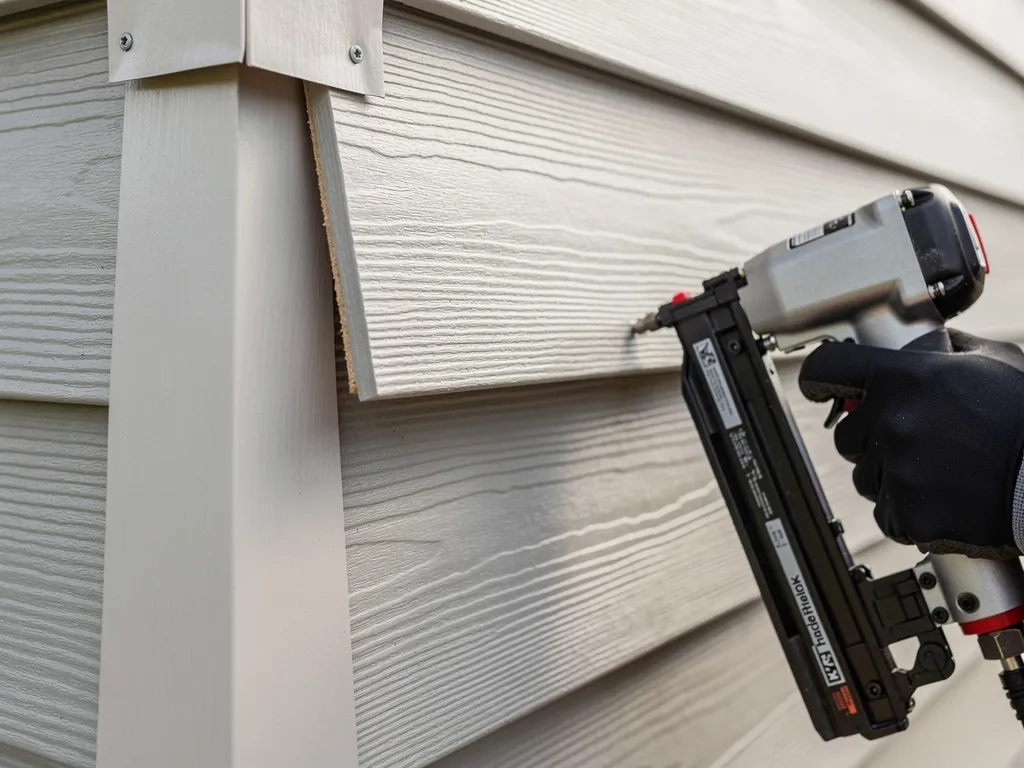
Installing HardiePlank lap siding follows a precise sequence that begins with weather barrier preparation and ends with a finished, code-compliant exterior. Skipping any phase exposes a home to moisture intrusion and voids the manufacturer warranty. Alliance Exteriors Inc. executes every step to James Hardie specifications and local building code, protecting Toronto and GTA homes from Canada’s demanding climate.
What Preparatory Work Precedes HardiePlank Installation?
A proper substrate ensures fiber cement performs as engineered. Crews first inspect the wall sheathing, then install a code-approved weather barrier that blocks moisture while allowing vapor to escape. Flashing is applied around windows, doors, and penetrations. Siding that traps water behind it causes rot and mold, failures that cost far more to remediate than the initial installation.
The installation team then lays out the plank courses, accounting for the required clearance at rooflines, decks, and grade. James Hardie technical documentation specifies precise gaps that prevent wicking and buckling. The numbered steps below outline what follows:
- Secure starter strip and first course, ensuring a level baseline.
- Blind-nail each plank per the Hardie Zone fastener schedule.
- Stagger end joints by two stud bays, never aligning seams vertically.
- Leave the required expansion gap for the specific climate zone.
- Install trim boards with corrosion-resistant fasteners at corners and openings.
- Apply field-cut edge coating and touch-up paint to exposed raw fiber cement.
How Does Fiber Cement Differ from Other Hardie Products?
While the focus here is lap siding, James Hardie’s catalog also includes HardieShingle, HardiePanel, HardieTrim, and HardieSoffit. Each product line demands its own installation best practices, fastener types, and joint treatment. Crews specializing exclusively in Hardie systems recognize these distinctions immediately. A generalist installer treating panel siding like lap plank creates gaps that invite water damage.
The final walkthrough confirms alignment, fastener concealment, and perimeter sealant integrity. Clients receive warranty documentation covering workmanship for 5 and 10 years. This warranty, combined with strict adherence to manufacturer instructions, delivers a cladding assembly engineered to hold its appearance and structural integrity for decades. Homeowners gain an exterior that resists warping, pests, and freeze-thaw cycles. Installers who skip the hard steps leave clients with a bill and a problem that compounds every season.
How Does Climate Affect the Installation Process in the GTA?
Climate dictates every phase of a James Hardie siding installation in the Greater Toronto Area. Freeze-thaw cycles, wind-driven rain, and summer humidity create risks that improper installation turns into wall failures. Alliance Exteriors builds climate-ready assemblies engineered for Canada’s climate, giving homeowners confidence from first consultation to final walkthrough.
Why Do Hardie Zone Designations Matter for Toronto Homes?
James Hardie engineers its siding for specific climate regions. The product line includes Hardie Zone designations like HZ5 and HZ10, each with distinct installation instructions. Using the wrong zone's fastener schedule or clearance dimensions compromises the warranty and the wall's moisture resistance. Alliance Exteriors matches every product to the correct zone specification before cutting a single plank.
What Role Does the Weather Barrier Play in Cold Climates?
A continuous weather barrier blocks moisture, drafts, and heat transfer. The company installs this protective shield behind the siding, then adds insulation to improve energy efficiency and indoor comfort. Skipping this layer in a Toronto winter invites condensation inside the wall cavity. That trapped moisture rots sheathing and feeds mold long before any visible stain appears on the interior drywall.
How Does Fire Resistance Factor into the Assembly?
Hardie siding complies with ASTM E136 as a noncombustible cladding. This fire resistance adds a critical safety margin to the exterior assembly. Applied paints or coatings may char when exposed to flames. For GTA homeowners in areas where ember exposure is a concern, the noncombustible substrate provides protection that vinyl or wood siding cannot match.
Proper climate preparation also extends the siding's service life. Homeowners who understand the material's needs avoid the common pitfalls detailed in Alliance Exteriors' guide on top maintenance problems with James Hardie siding. The installation process follows a strict sequence: assess the Hardie Zone, install the weather barrier and insulation, then fasten the siding to the manufacturer's clearance and fastener specifications. Each step locks out the moisture and thermal stress that degrade lesser assemblies.
What Happens After Installation Is Complete?
The final walkthrough transforms a completed installation into a documented, warrantied investment. Alliance Exteriors reviews every linear foot of the new siding alongside the homeowner, confirming the clean finish meets the project’s specifications. This step catches any discrepancy before it becomes a future headache. Skipping a structured closeout risks unresolved details festering into costly callbacks.
What Does the Final Walkthrough Cover?
The walkthrough is methodical and client-focused. The team inspects seam alignment, fastener concealment, trim integration, and site cleanliness. Any concern raised receives immediate attention and documentation. Homeowners receive physical and digital copies of their warranty paperwork before the crew departs. Alliance Exteriors backs its work with 5- and 10-year workmanship warranties, reinforcing long-term performance and peace of mind. That coverage sits on top of the manufacturer’s product warranty, giving the homeowner layered protection against defects and installation errors.
How Does Ongoing Support Work After the Project?
Warranty protection means little without a responsive partner to honor it. The company maintains consistent communication beyond the final invoice. Clients who reach out with seasonal expansion questions or post-storm inspections speak directly to specialists familiar with their home’s file. No automated ticketing maze. No subcontractor runaround. For a deeper look at material longevity in this climate, the comparison of James Hardie fiber cement and metal siding illustrates how proper installation quality directly extends service life. Alliance Exteriors treats the handshake at the walkthrough as the start of a long-term relationship, not the end of a transaction.
FAQ
What is the first step in the James Hardie siding installation process?
The process begins with a design consultation and material guidance session to align the siding system with the home’s architectural style and performance requirements.
How does Alliance Exteriors ensure the installation meets manufacturer specifications?
Alliance Exteriors holds James Hardie Certified Installer status and executes each project to code, following proper clearance, weather barriers, and fastening patterns.
What warranty does Alliance Exteriors provide on completed installations?
Alliance Exteriors provides 5- and 10-year workmanship warranties on completed installations, reinforcing long-term performance and peace of mind.
Conclusion
From design consultation through final walkthrough, the James Hardie siding installation process delivers a documented, warrantied exterior built for Toronto’s freeze-thaw cycles. Homeowners who follow this structured sequence (zone assessment, weather barrier, precise fastening, and closeout inspection) secure a cladding assembly that resists moisture, pests, and thermal stress for decades. The next step is scheduling a consultation to match the right Hardie system to your home’s architecture and climate demands.